A custom stainless steel bottle sample arrives and looks excellent. The color is right, the logo is clean, the lid fits, and the insulation appears to work.
The buyer approves it and starts mass production.
Several weeks later, the finished order arrives. Most bottles look similar to the sample, but some lids are unusually tight, a few bottles leak when placed horizontally, the body color varies between cartons, and several logos are slightly off position. The individual differences may seem small, yet together they create returns, repacking work, delayed launches, and damage to the brand.
This situation does not always mean that the sample was misleading. More often, it means the approved sample was treated as the entire quality standard when it should have been only one part of a larger control system.
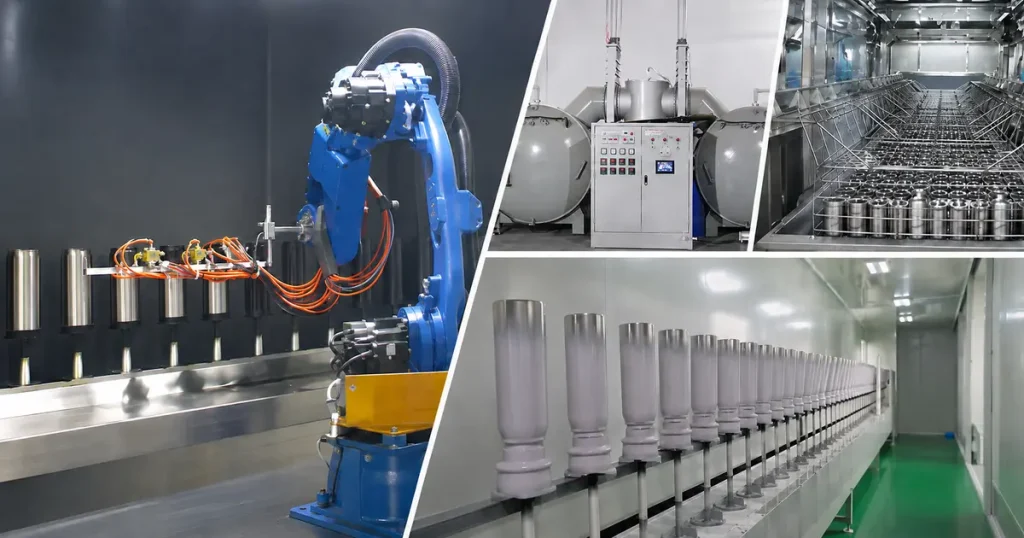
The real challenge in custom drinkware manufacturing is not producing one good sample. It is reproducing the same approved result across hundreds or thousands of units, while controlling the normal variation created by materials, forming, welding, vacuuming, coating, printing, component assembly, and packaging.
Effective stainless steel bottle quality control therefore begins before production. It converts the approved sample into a measurable written specification, identifies the highest-risk features, checks the first production pieces, monitors critical processes, and uses final inspection as the last verification step—not the first time quality is examined.
This guide explains how buyers can build that process from sample approval to shipment.
The Short Answer: What Should a Drinkware Quality-Control Plan Include?
A practical quality-control plan for custom stainless steel bottles or tumblers normally covers five stages:
- Specification approval: Define the materials, construction, dimensions, colors, logo, lid, performance, packaging, and acceptable tolerances.
- Incoming-material and component checks: Confirm that the steel, plastic parts, silicone seals, coatings, accessories, and packaging match the approved requirements.
- First-article and in-process inspection: Check the first production pieces before the order is completed and monitor the processes most likely to create variation.
- Functional and appearance testing: Verify leakage, insulation, lid function, coating, color, logo, cleanliness, and other project-specific requirements.
- Final random inspection and shipment release: Sample the finished lot, review packaging and documentation, and decide whether the order can ship, requires rework, or needs further investigation.
The exact tests should depend on the product and its intended market. Different stainless steel bottles, tumblers, travel mugs, and food jars do not carry the same risks. A simple promotional tumbler, a leakproof commuter mug, a children’s straw bottle, and a premium retail gift set each require a different inspection focus.
For an overview of how the bottle itself is formed, welded, vacuumed, finished, and assembled, see our guide to the stainless steel water bottle manufacturing process.
1. An Approved Sample Is a Reference, Not a Complete Specification
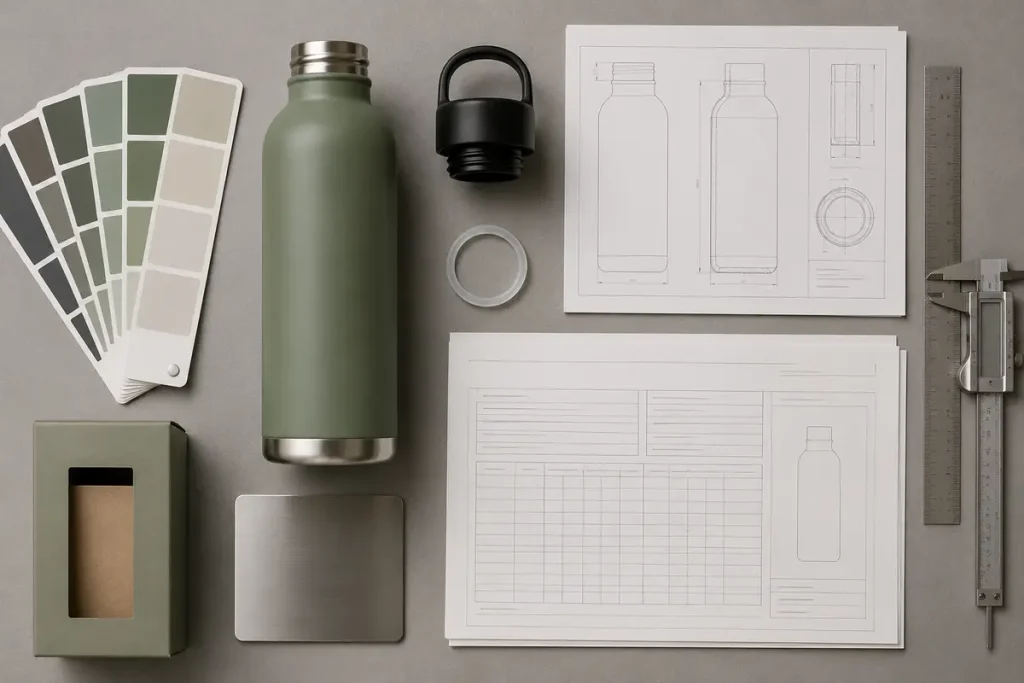
A physical sample is valuable because it communicates appearance and user experience more clearly than a drawing. A buyer can hold it, test the lid, compare the color, review the logo, and evaluate the overall feel.
However, a sample cannot show every requirement by itself.
It does not automatically state:
- The stainless steel grade of the inner and outer walls
- The permitted variation in height, diameter, weight, or capacity
- The acceptable color difference between production batches
- The required logo size and positioning tolerance
- Whether the lid is defined as leakproof or only splash-resistant
- The test conditions behind an insulation claim
- Which cosmetic marks are acceptable and in which areas
- The packaging material, carton strength, or barcode requirements
- The sampling plan for final inspection
The sample may also have been selected from an earlier batch or adjusted carefully by a technician. Mass production introduces repeated material lots, machine settings, operators, coating runs, printing setups, and assembly steps. Each creates opportunities for variation.
The approved sample should therefore be paired with an approved specification sheet. Together, they become the production reference.
What should be recorded before production?
| Area | Details to approve | Why it matters |
|---|---|---|
| Bottle body | Model, nominal capacity, dimensions, weight, construction and wall materials | Prevents a visually similar but technically different product from being used |
| Lid and accessories | Resin type, color, gasket, straw, handle, lock, boot and spare parts | Many functional failures originate in the lid rather than the steel body |
| Surface finish | Coating type, gloss level, texture, approved color reference and acceptable variation | “Matte blue” is not a production standard |
| Branding | Artwork version, process, size, color, position and orientation | Avoids wrong files, scale errors and inconsistent placement |
| Performance | Leak test, insulation test, opening or closing function, drop requirements and other claims | Converts words such as “leakproof” into testable requirements |
| Packaging | Individual protection, box, insert, label, barcode, carton quantity and carton marks | Packaging errors can stop a retail or e-commerce shipment even when the bottle is correct |
Phrases such as “same as sample,” “good quality,” or “keep drinks hot for a long time” are not sufficiently precise on their own. Wherever a feature matters commercially, the buyer and supplier should agree on how it will be checked.
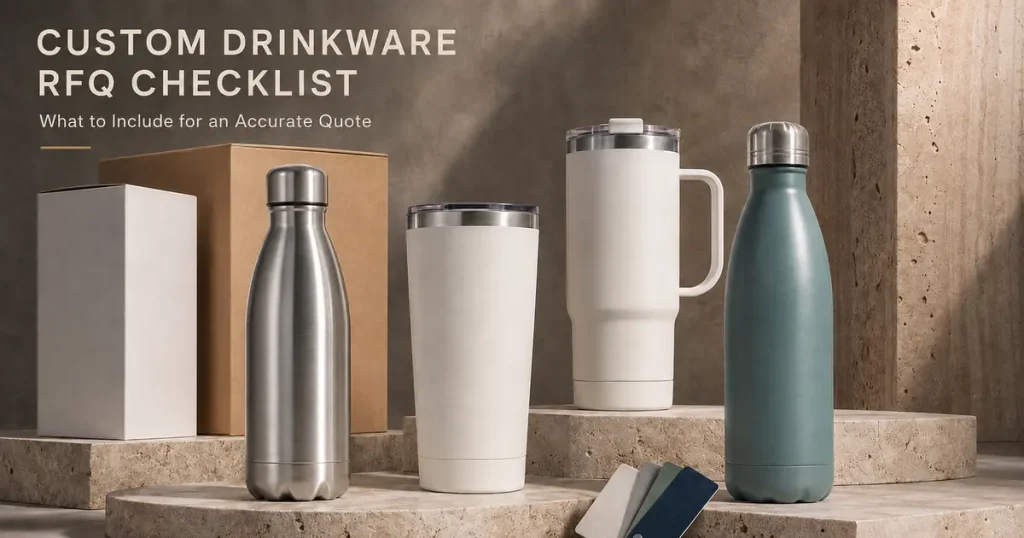
A complete project brief also makes quotation and quality planning more reliable. Our custom stainless steel drinkware RFQ checklist explains the information buyers should provide before sampling begins.
2. Build the Inspection Plan Around Risk
More testing does not automatically create better quality. The goal is to identify the failures that would cause the greatest commercial, safety, or customer-service impact and control them at the right stage.
A useful starting point is to classify defects as critical, major, or minor. The definitions should be adjusted for the product and sales channel.
Critical defects
These may create a safety or serious compliance risk. Examples could include sharp metal edges, unsafe contamination, an incorrect food-contact material, or a component failure that creates a foreseeable hazard. A children’s product may require additional attention to detachable parts, straw components, and age-specific requirements.
Major defects
These make the product unusable, materially reduce performance, or are likely to cause a return. Examples include leakage, failed insulation, a broken lid mechanism, the wrong capacity, a seriously incorrect color, a missing accessory, an unscannable retail barcode, or packaging that does not protect the product.
Minor defects
These do not normally affect use but fall outside the agreed appearance standard. Examples may include a small cosmetic mark in a less visible area or a slight logo-position variation beyond the approved tolerance.
The same issue can receive a different classification in different projects. A small scratch may be minor on an economical promotional item but commercially unacceptable on a premium retail bottle displayed without an outer box.
This is why defect definitions and reference photographs should be agreed upon before final inspection—not debated after the goods are complete.
3. Verify Materials and Components Before They Enter Production
Finished bottles are difficult and expensive to correct if the wrong material or component was used. Incoming checks reduce that risk before value is added through forming, coating, printing, and assembly.
Stainless steel grade
Depending on the project risk, verification may include supplier material certificates, purchasing records, incoming material identification, positive material identification, or third-party laboratory testing.
A simple magnet test should not be treated as proof that a bottle is or is not made from 304 stainless steel. Austenitic stainless steels are generally non-magnetic in the annealed condition, but they can become slightly magnetic after cold working. Bottle bodies undergo substantial forming, so magnetism alone cannot reliably identify the grade. Technical guidance from WorldStainless also notes that austenitic grades may become slightly magnetic after cold working.
For projects where the steel grade is commercially or legally important, use documented material control and an appropriate analytical method rather than an informal magnet check.
Plastic, silicone, and lid components
A lid may contain several separate parts: the main lid body, button, slider, handle, straw, silicone seal, pin, spring, and decorative insert. Each part can affect leakage, opening force, durability, and food-contact compliance.
Incoming checks may review the following:
- Correct component and mold version
- Resin or silicone specification
- Color and visual consistency
- Dimensions and fit
- Odor and cleanliness
- Gasket shape, position, and compression
- Compatibility with the approved bottleneck
Custom lid colors deserve particular attention. They may involve separate material batches and injection runs from the bottle coating. This is one reason the practical custom water bottle MOQ can be controlled by the lid rather than the steel body.
Packaging materials
Boxes, inserts, labels, sleeves, barcodes, instructions, and master cartons should also be approved before full packing. A bottle can pass every functional test and still miss its launch date because the packaging artwork is outdated or the barcode cannot be scanned.
4. Check the First Production Pieces Before the Full Run Continues
A first-article inspection examines pieces produced under actual mass-production conditions after the line has been set up.
This is different from approving a development sample. The development sample proves that the intended result is possible. The first article checks whether the actual production materials, tooling, coating, printing, components, and assembly settings are reproducing that result.
The first-article review should focus on the characteristics most likely to create a batch-level problem:
- Bottle dimensions, capacity, and weight
- Body and lid fit
- Lid operation and gasket installation
- Body color and finish
- Logo artwork, size, orientation, and position
- Leakage and insulation performance
- Packaging fit and product protection
This checkpoint is especially important when the order includes a new bottle structure, a newly developed lid, a new coating effect, a tight Pantone requirement, multiple print colors, or custom retail packaging.
Finding an incorrect logo position after ten pieces is manageable. Finding it after ten thousand pieces is a commercial crisis. Early approval reduces rework, schedule disruption, and arguments about responsibility.
5. Define Functional Tests in Measurable Terms
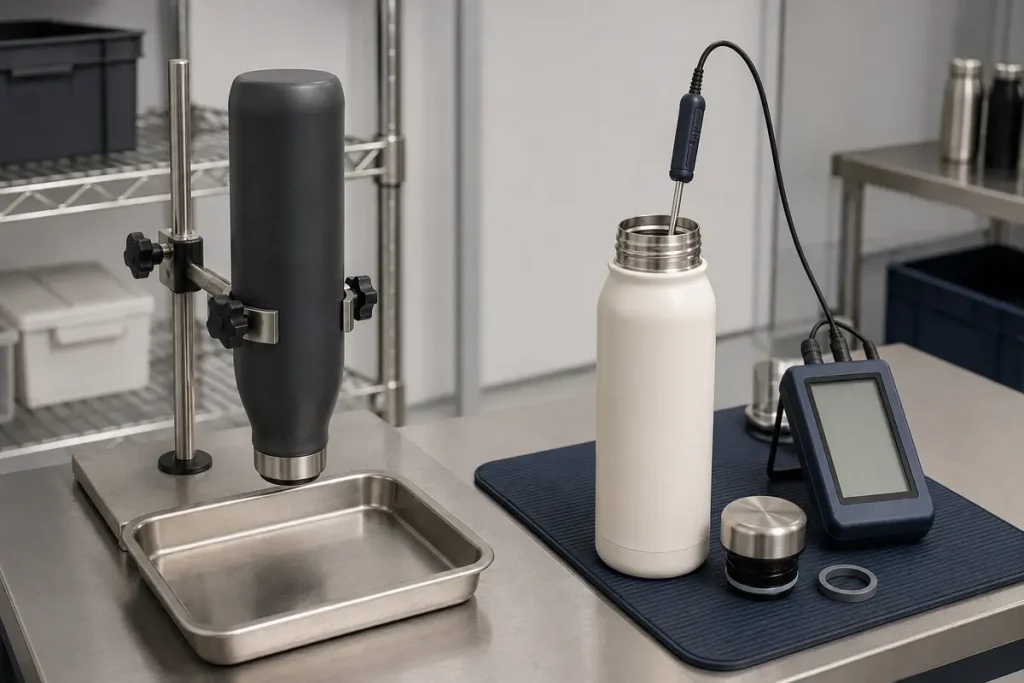
Statements such as “leakproof,” “keeps hot for 12 hours,” and “durable coating” sound clear, but they are incomplete until the test conditions and acceptance criteria are defined.
Leak testing
Leakage is one of the most common reasons drinkware is returned, yet there is no single test condition that suits every lid and use case.
A useful leak test protocol should define the following:
- Liquid type and temperature
- Fill level
- Whether the lid is closed by hand or to a defined torque
- Upright, inverted, horizontal, or multiple orientations
- Static holding time
- Whether shaking or movement is included
- Whether pressure or temperature change is involved
- What counts as failure: visible droplets, moisture around the seal, or measurable liquid loss
The product description must also distinguish leakproof from splash-resistant. An open-sip tumbler lid designed to reduce splashes should not be marketed or inspected as though it were a sealed bottle lid.
Hot-liquid testing requires additional care because heat can change internal pressure and soften some plastic or silicone components. The protocol should reflect the intended use and be performed safely.
Insulation testing
A meaningful insulation test records at least the following:
- Water volume
- Starting water temperature
- Ambient temperature
- Bottle and lid configuration
- Test duration
- Final water temperature
Without these conditions, two “12-hour insulation” results cannot be compared.
A quick external heat check can help identify a serious vacuum failure: when hot water is added, a defective vacuum body may show unexpected heat on the outer wall. However, this screening check is not the same as a controlled thermal-retention test.
The buyer should also define how many pieces are tested and at which production stages. Insulation performance cannot be confirmed by appearance alone.
Lid and seal function
The lid is a system, not one component. Depending on the design, checks may include the following:
- Opening and closing force
- Thread engagement and alignment
- Button, slider, or lock operation
- Repeated opening-cycle performance
- Gasket retention and compression
- Straw fit and pull resistance
- Handle or carry-loop strength
- Compatibility across bottles and replacement lids
A small change in gasket dimensions or material hardness can affect both leakage and user experience. New lid structures should therefore receive more validation than an established lid used in its existing material and color.
Drop and impact testing
A drop test should define the product condition, height, surface, orientation, number of drops, and acceptable result. An empty bottle dropped onto wood is not equivalent to a filled bottle dropped onto concrete.
Possible post-test checks include:
- Lid remains attached and functional
- No sharp edge or unsafe breakage is created
- Bottle does not leak
- Vacuum performance remains acceptable
- Dents or coating damage stays within the agreed standard
Not every order needs the same drop protocol. The appropriate requirement depends on the product claim, user group, retail standard, and expected distribution environment.
Capacity, dimensions, and compatibility
Nominal capacity should be distinguished from brimful capacity and recommended usable capacity. Buyers should agree on which value is being stated.
Dimensions also matter when the bottle must fit a car cup holder, retail insert, e-commerce mailer, vending location, or existing accessory. A few millimeters of uncontrolled variation can create an assembly or packaging problem even when the bottle looks correct.
6. Control Color, Coating, and Logo as Production Processes
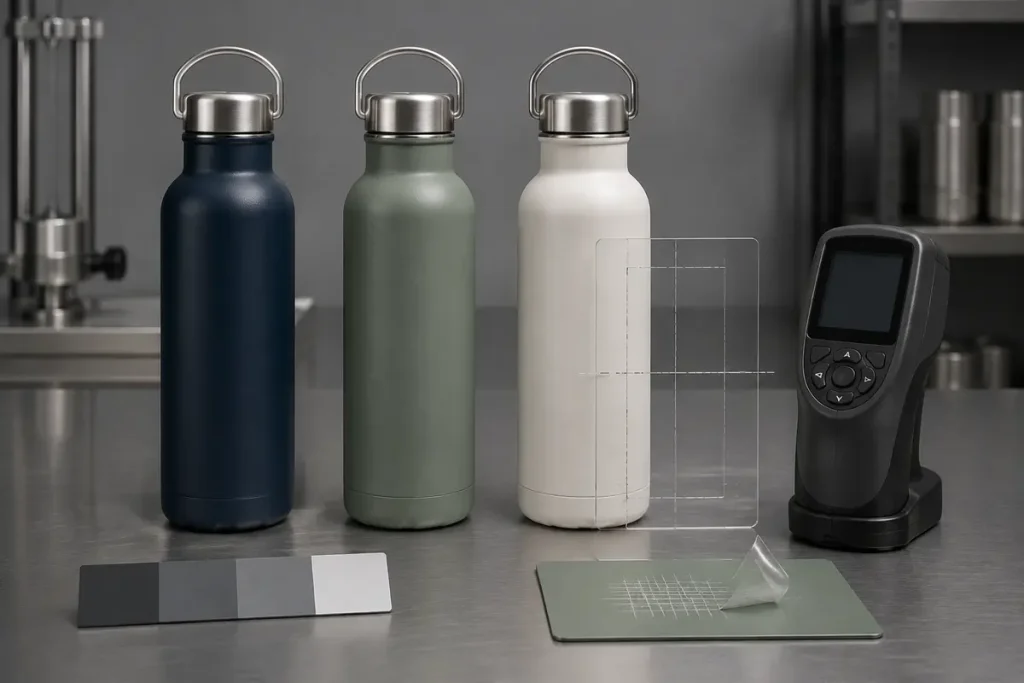
Appearance quality is often evaluated too casually. “Looks acceptable” can vary by inspector, lighting, viewing distance, and the area of the bottle being examined.
Establish a visual-inspection method
For projects with strict cosmetic expectations, define:
- Lighting conditions
- Viewing distance and angle
- Inspection time
- High-visibility and low-visibility zones
- Acceptable limits for scratches, dents, dust, pinholes, uneven coating, and polishing marks
- Approved defect photographs where possible
The front logo area may require a stricter standard than the base, which is rarely visible during normal use.
Control color with an approved reference
A Pantone number is a useful starting point, but production approval should ideally include a physical color sample or signed limit sample, particularly for matte, textured, metallic, gradient, or translucent effects.
If instrumental color measurement is required, the buyer and supplier should agree on the measurement method and permitted color difference before production. There is no universal color-tolerance number that is correct for every coating, finish, geometry, and brand.
Body color and plastic lid color should also be evaluated separately. Different materials reflect light differently, so the same nominal color may not appear identical on powder-coated steel, molded plastic, and silicone.
Test coating and decoration according to the claim
Common evaluation methods may include:
- Coating adhesion
- Abrasion or rub resistance
- Pencil hardness or other project-specific surface tests
- Chemical resistance
- Dishwasher-cycle testing when dishwasher durability is claimed
- Logo adhesion and print resistance
For example, ASTM D3359 describes tape-test procedures for assessing the adhesion of relatively ductile coating films to metallic substrates. A cross-cut or tape test is useful when the method, coating thickness, tape, conditioning, and acceptance rating are agreed upon. It is a destructive test and should be performed on designated samples.
Passing an adhesion test does not automatically prove that a coating will survive years of dishwasher use, keys inside a bag, aggressive detergents, or repeated impacts. The test plan must match the actual product claim.
Logo approval should cover more than artwork accuracy. Size, position, orientation, color, edge definition, registration, and durability all affect the final brand presentation.
7. Inspect Packaging as Part of the Product
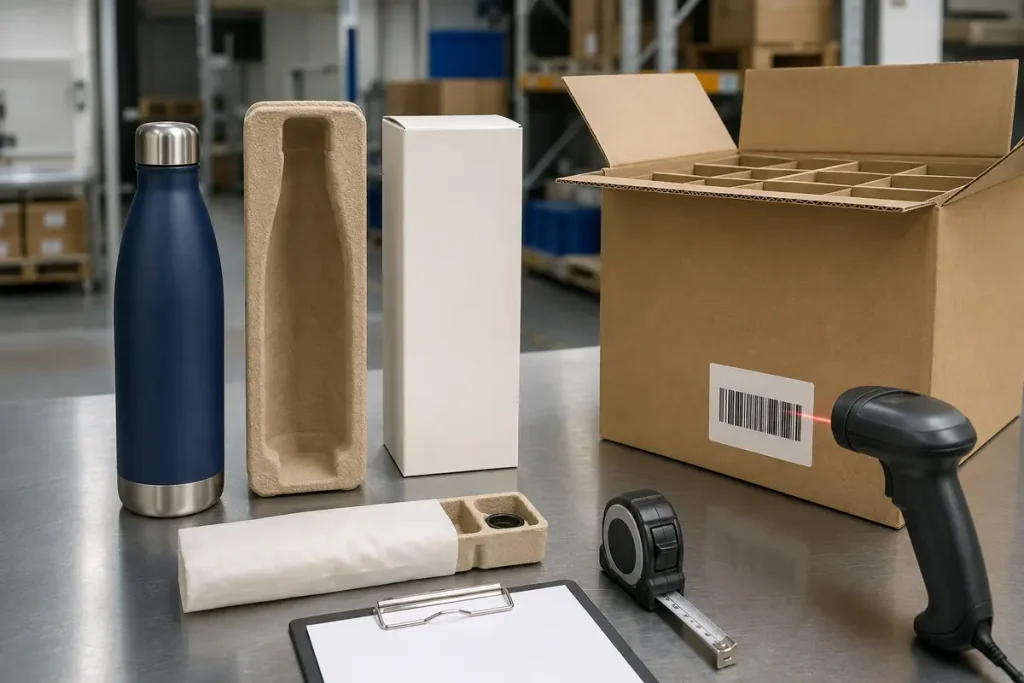
Packaging quality control should not begin after the bottles have been packed.
The individual box, insert, protective material, and master carton form one distribution system. If the insert allows movement, the bottle can rub against the lid or box during transit. If the carton is too weak, bottles at the bottom of a pallet may arrive dented even though they left the factory in good condition.
Packaging checks may include:
- Correct artwork revision and language
- Box dimensions and structural fit
- Protective bag, paper, divider, or insert
- Barcode content, contrast, size, and scan test
- Required labels and warnings
- Accessories and instructions
- Quantity per inner and master carton
- Carton dimensions, gross weight, and carton marks
- Resistance to vibration, impact, compression, and drop hazards where required
Retail, palletized, and parcel-delivery products do not experience the same distribution risks. When formal transport testing is required, the protocol should match the intended route. The International Safe Transit Association publishes different procedures for packaged products, including integrity tests and distribution-simulation approaches. Buyers should select a relevant procedure rather than requesting a generic “drop test” with no defined method.
For a new retail box or e-commerce pack, testing the complete packed product before mass packing is far less expensive than repacking a finished order.
8. Use Final AQL Inspection as a Gate, Not as the Whole Quality System
Final random inspection is important, but it has limitations. It reviews a sample from a finished lot; it does not examine every unit and cannot rebuild quality into goods that were produced incorrectly.
ISO 2859-1:2026 specifies sampling schemes indexed by acceptance quality limit, or AQL, for inspection by attributes. In practice, the lot size, inspection level, and agreed AQL determine the sample size and the acceptance or rejection thresholds.
Before inspection, the buyer and supplier should agree on:
- What constitutes one inspection lot
- When the goods are considered complete and ready for inspection
- Inspection level and sampling plan
- Critical, major, and minor defect definitions
- Which tests are performed on the full sample and which use a smaller test subset
- Acceptance and rejection rules
- What happens after failure: sorting, rework, replacement, retesting, or further investigation
AQL is frequently misunderstood. It does not mean that the buyer has agreed to receive a known fixed percentage of defective goods. It is a statistical sampling method used to make an acceptance decision about a lot based on the inspection result.
Final inspection is most effective when earlier controls have already addressed material, first-article, and process risks. If the first functional testing occurs only after all goods are packed, the order has very little room for correction.
9. Review the Evidence Before Releasing the Shipment
Shipment approval should be supported by records, not only a message saying “inspection passed.” Depending on the project, the buyer may request the following:
- Final inspection report
- Defect photographs and quantities
- Functional-test records
- Insulation-test data
- Color and logo comparison photographs
- Packaging and barcode checks
- Carton dimensions and weights
- Requested material or compliance documentation
- Samples taken from the actual production batch
The document package should be defined before production. Requesting new tests or reports after the goods are complete may create delays or reveal that the retained samples and materials are no longer suitable for the requested evaluation.
It is also important to distinguish product quality control from regulatory compliance. A factory audit such as BSCI evaluates social-compliance systems; it is not a food-contact test report for a specific bottle. Likewise, a test report for one model or material combination may not automatically cover a different lid, coating, printing ink, or market requirement.
The buyer should confirm that each required document applies to the actual product, materials, components, destination market, and test scope.
A Practical Sample-to-Shipment Control Flow
| Stage | Main objective | Recommended record | Decision |
| Product brief | Define intended use and risks | RFQ, drawings, artwork and requirement list | Is the product route practical? |
| Sample approval | Confirm design and user experience | Signed sample and comment sheet | Is the design ready to freeze? |
| Specification approval | Convert the sample into measurable requirements | Final specification and packaging file | Can production begin? |
| Incoming checks | Confirm materials and components | Incoming inspection or supplier records | Can materials be released to production? |
| First article | Verify actual line setup | First-article report and approved production pieces | Can the full run continue? |
| In-process control | Detect variation before the batch is complete | Process and functional-test records | Is correction needed now? |
| Final inspection | Sample the completed lot | Inspection report and defect summary | Pass, rework, investigate, or reject? |
| Shipment release | Confirm goods and documents are ready | Release approval, packing data and required documents | Can the order ship? |
Buyer’s Pre-Production Quality Checklist
Before authorizing mass production, confirm the following:
- The physical sample and written specification agree.
- Steel, plastic, silicone, coating, and accessory materials are identified.
- Dimensions, capacity, and weight definitions are clear.
- Body and lid colors have approved references.
- The final logo file, size, position, and process are recorded.
- “Leakproof” or “splash-resistant” is defined correctly.
- Leak and insulation test conditions are written down.
- Lid, straw, handle, and gasket functions are included where relevant.
- Cosmetic defect standards and inspection zones are agreed upon.
- Packaging artwork, barcode, accessories, and carton requirements are approved.
- First-article approval is required before the full run continues.
- Final sampling, defect classifications, and failure actions are agreed upon.
- Required compliance and inspection documents are listed before production.
- The shipment cannot be released without the agreed approval records.
Common Quality-Control Mistakes to Avoid
Approving only photographs
Photos are useful for communication but may hide color, finish, fit, odor, insulation, leakage, and tactile issues. Where possible, approve a physical sample together with the written specification.
Making an unrecorded change after sample approval
A new lid color, gasket material, coating, print process, or packaging insert may introduce a new risk. Changes should be documented and revalidated to the degree appropriate for their impact.
Using vague performance claims
“No leakage” and “keeps hot” are not complete inspection instructions. Define the conditions and acceptance criteria.
Waiting until final inspection to test function
Final inspection is too late to discover that a lid-and-neck combination has a systematic fit problem. Test critical functions during first-article and in-process stages.
Treating every certificate as interchangeable
Confirm the product, material, component, market, test standard, date, and scope covered by each report.
Testing the bottle but ignoring the packaging
The customer receives a packed product, not a bare bottle from the production line. Packaging must protect the approved product through its real distribution route.
Final Thoughts
Reliable custom drinkware quality is not created by one final inspection, and it is not guaranteed by one attractive sample.
It comes from a connected system:
- Define the product and risks clearly.
- Convert the approved sample into a measurable specification.
- Verify materials and components before production.
- Approve first production pieces before the batch is complete.
- Test functions under defined conditions.
- Control appearance, branding, and packaging as production processes.
- Use final random inspection as the last gate.
- Release the shipment only when the agreed product and records are complete.
Not every bottle requires every possible test. The professional approach is to apply the right controls to the features that matter for the product, market, and brand promise.
At Funzlife, we help promotional and retail brands review product specifications, samples, customization details, production checkpoints, and inspection requirements with appropriate manufacturing partners. This helps reduce avoidable surprises between sample approval and mass shipment.
Planning a custom stainless steel bottle, tumbler, travel mug, or food jar project? Explore our custom drinkware options or contact us with your product reference, target quantity, logo, packaging, market, and quality requirements.